
Create the Tailwind config file
In this step, we will be creating a Tailwind config file or in other words, we will be initializing Tailwind in our project. This file named `tailwind.config.js` is used by Laravel mix(webpack) when we convert SCSS into CSS.
Run the following command in the terminal:
After running the above command in the root of our project we can see a new file `tailwind.config.js` and when you open it in your code editor you will see the following code:
Every section of the config file is optional, you can change any section according to your purpose. But if any missing value remains, the config file will be back to its default configuration.
You can see more details about this file in the official docs of TailwindCSS .
Step 1 — Creating a New Laravel Application Using the Laravel Builder Script
To get started, you’ll download and execute the official Laravel builder script, which will pull in the necessary Docker container images to build your development environment and then bootstrap a new application in your current folder. This installation method doesn’t require you to have PHP installed on your system, requiring only that you download and execute the builder script that will set up the Docker environment where you can run the actual Laravel installer.
At the end, the script asks for your password to make sure the application folder has correct permissions for your system user. You can access the script URL from your browser to verify its contents before running the next command. In this example, we’re using the name myapp, but you are free to replace this with a different name:
When the installation is finished, access the new application directory and get the Sail environment up with:
This will bring the environment up in foreground mode, so you can follow up with the logs from all running containers. You’ll see a few different services getting started, using different ports to communicate between each other:
These are services configured by default within Sail environments. For more information about each of them, refer to the .
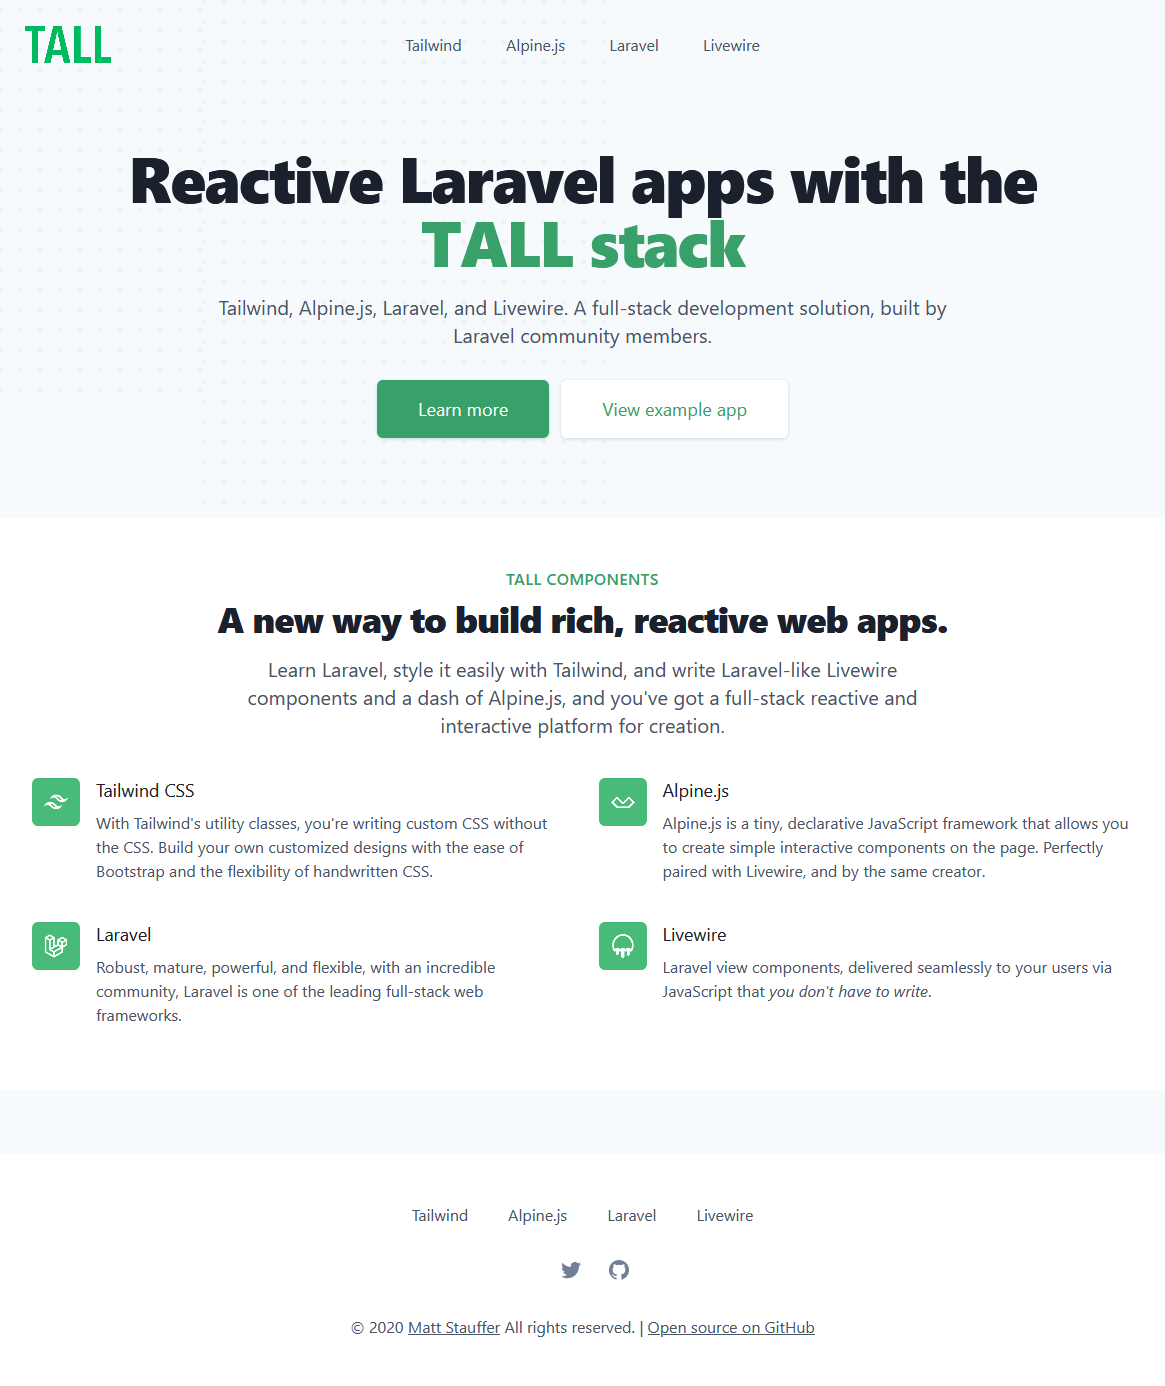
Next, access the application from your browser at:
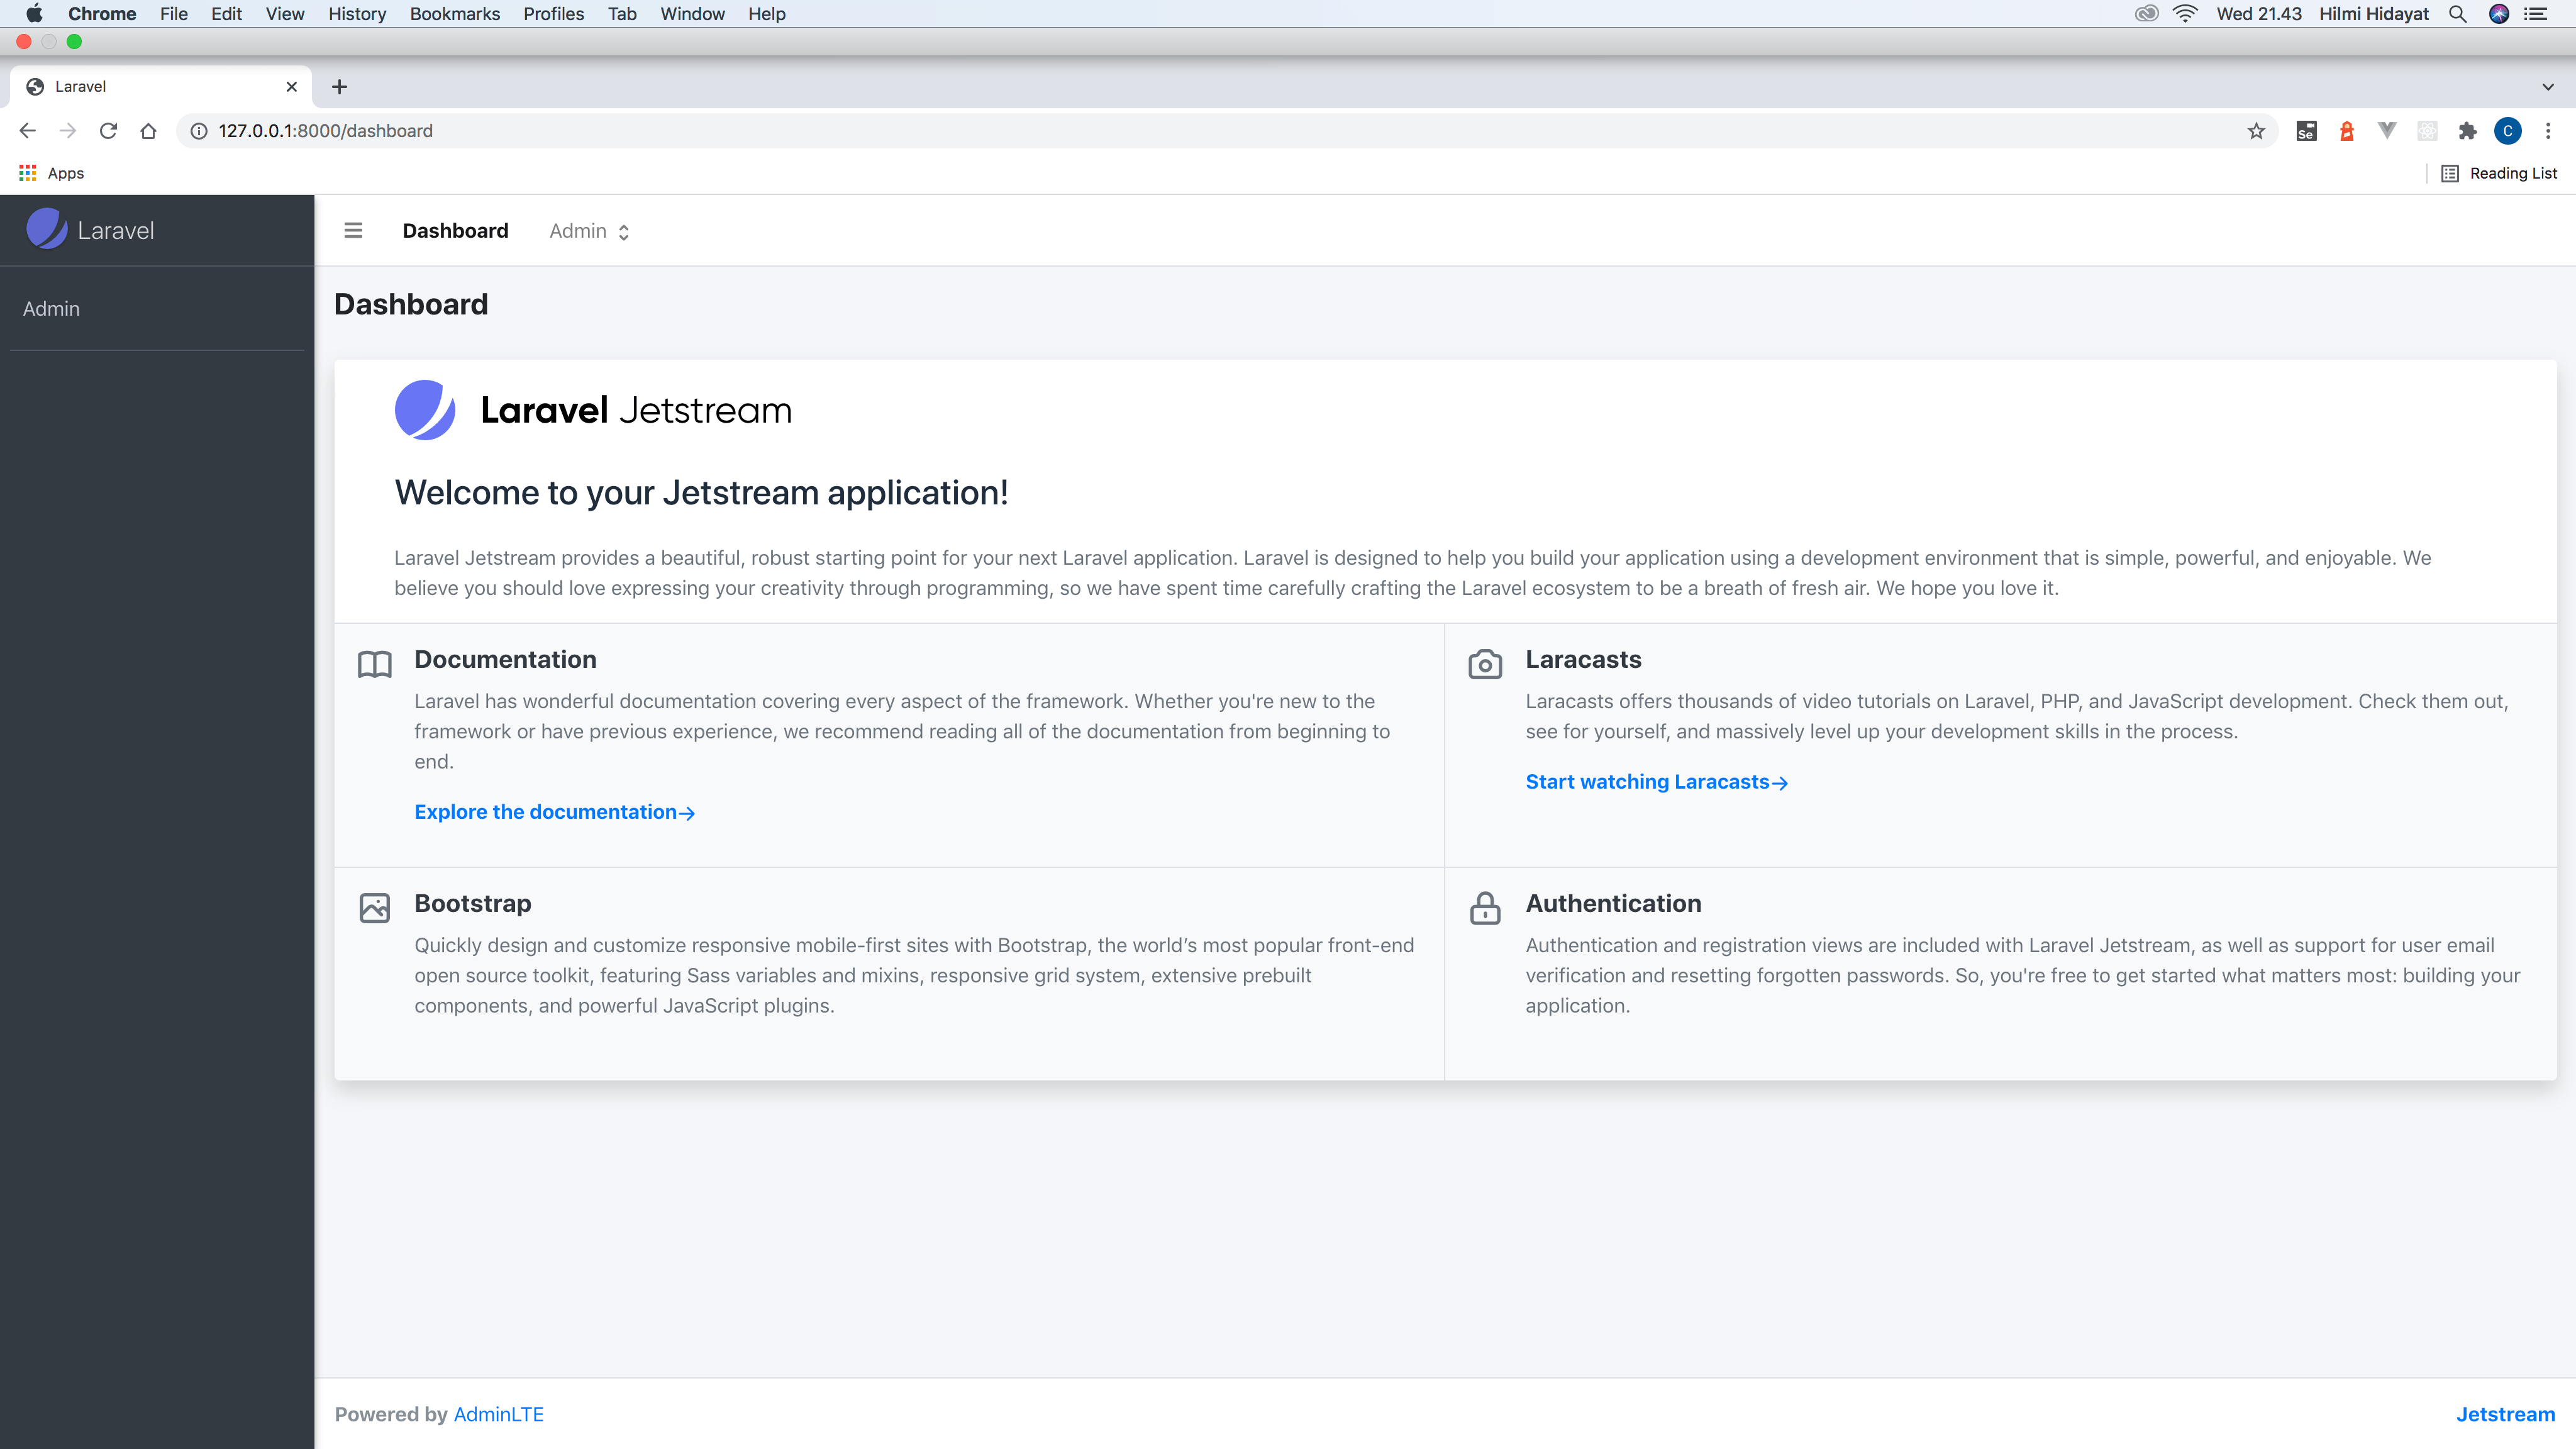
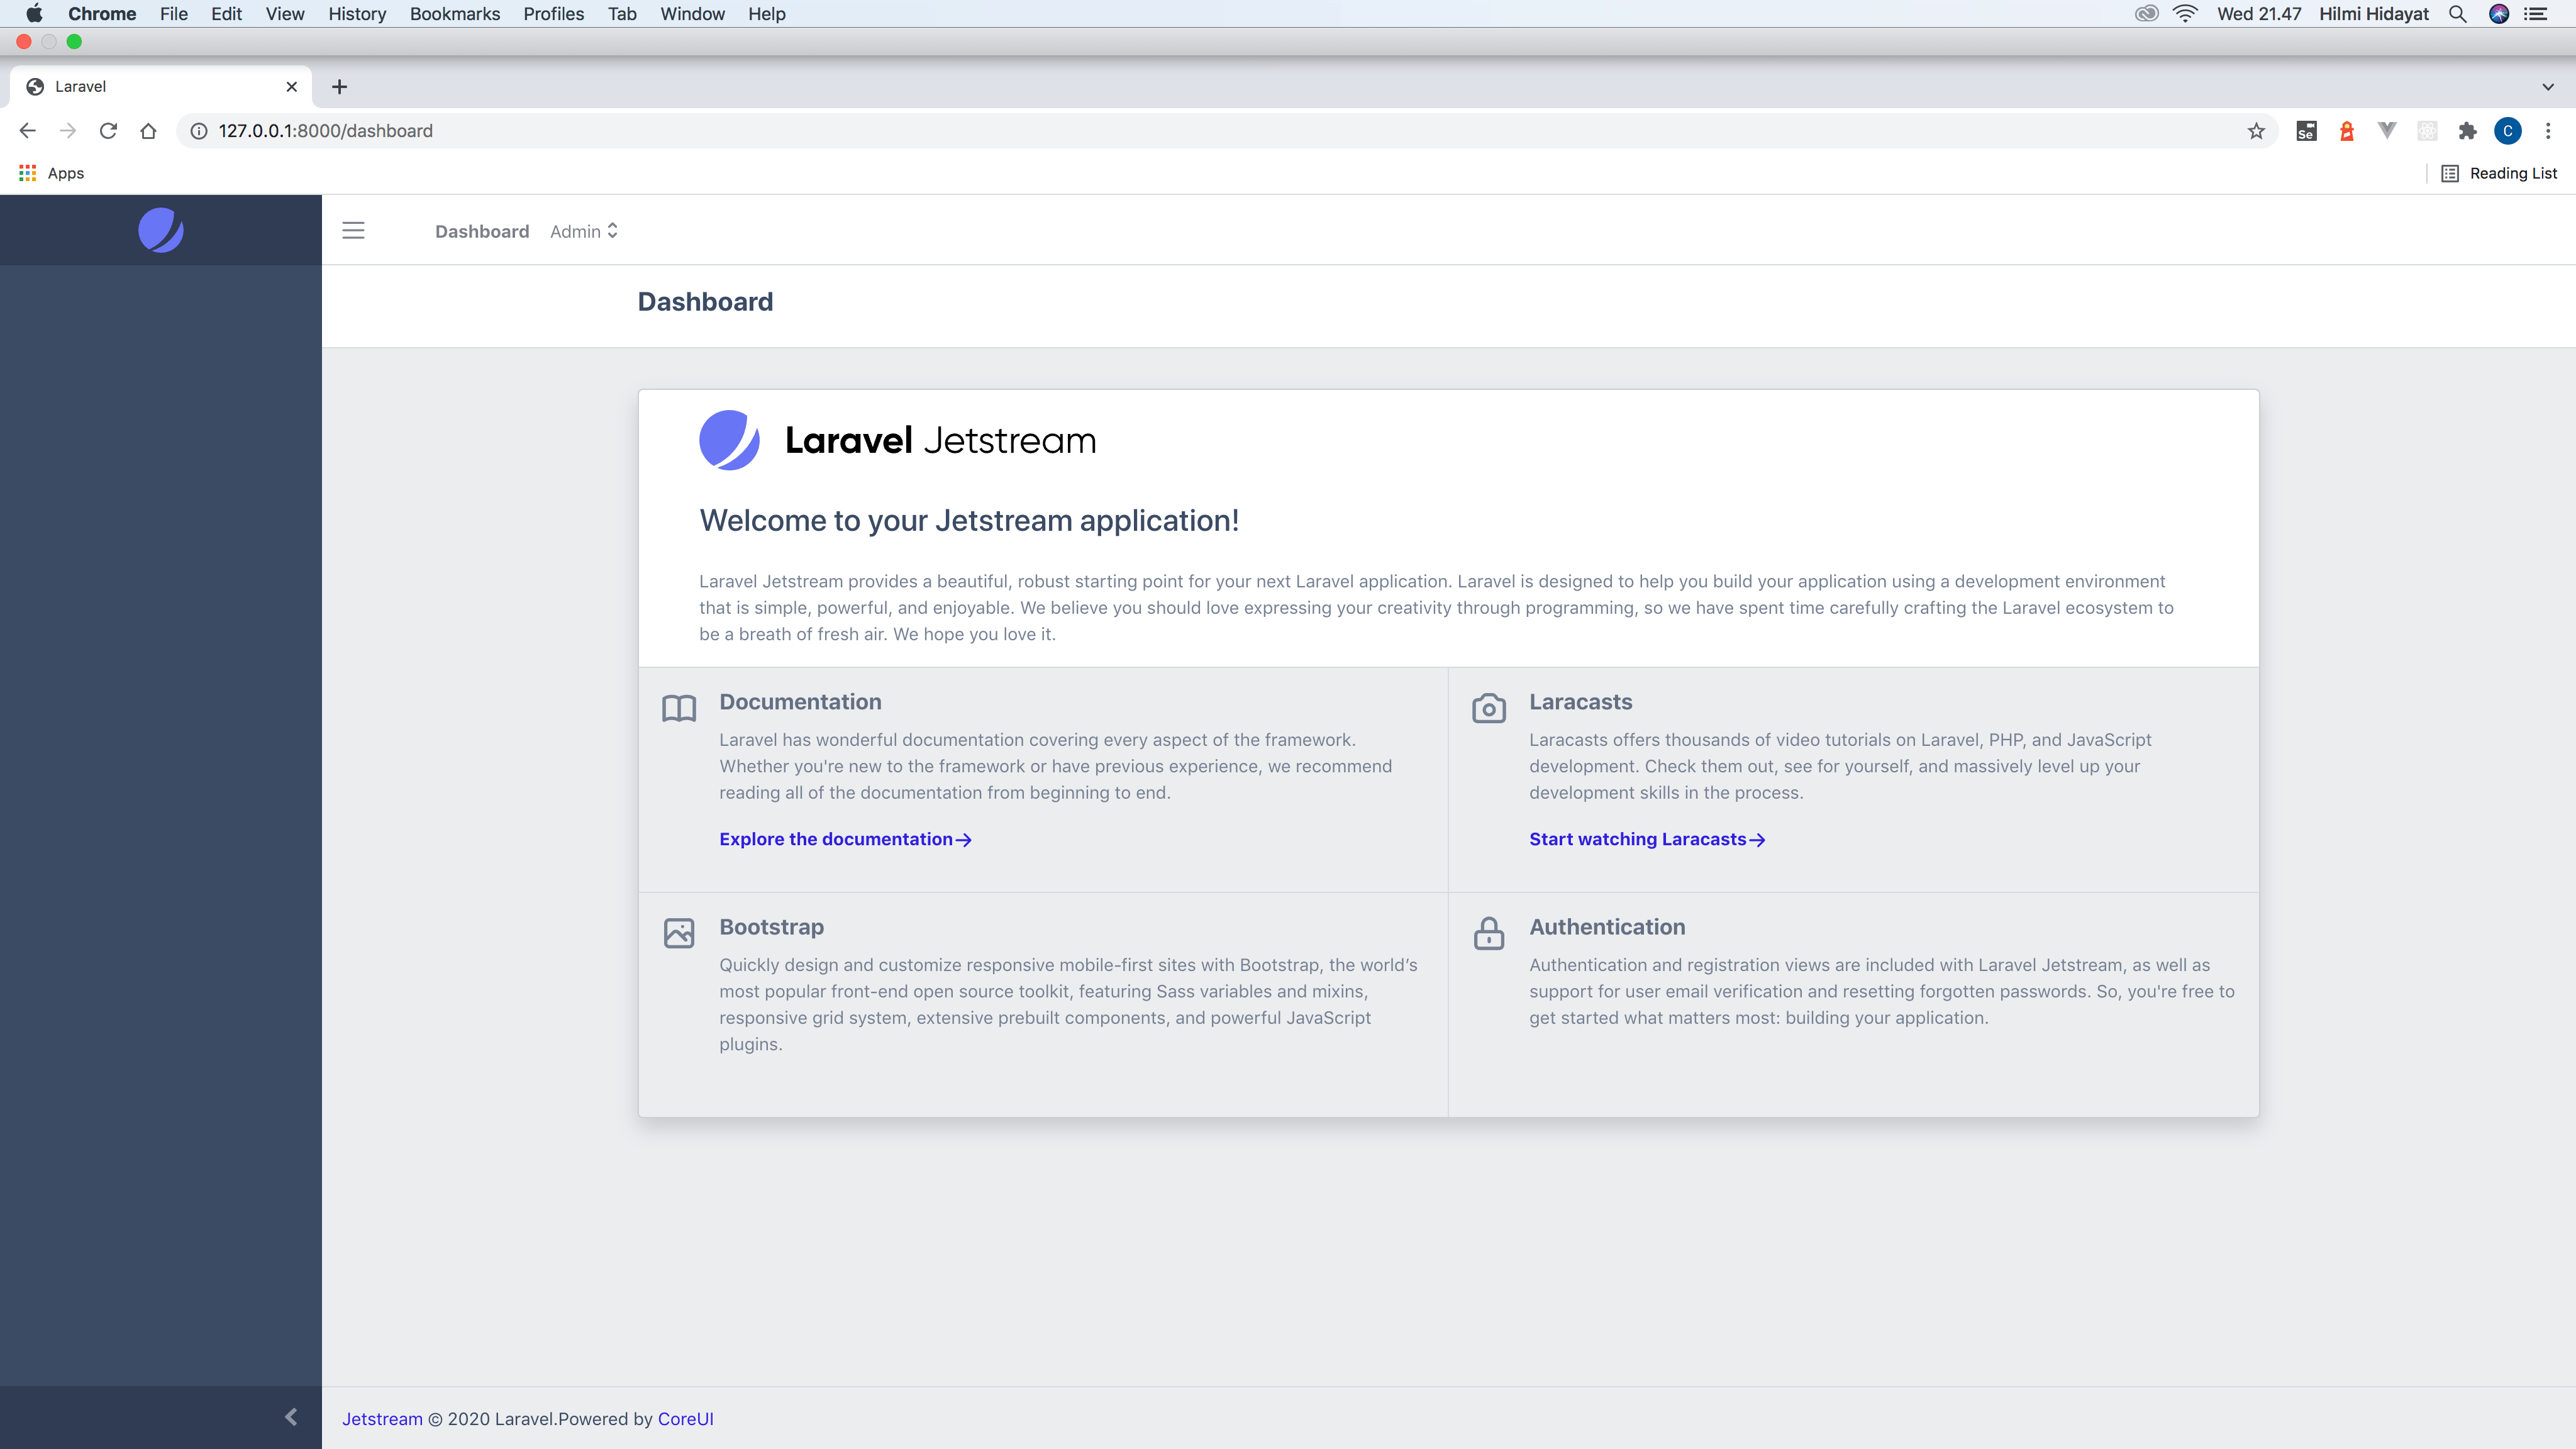
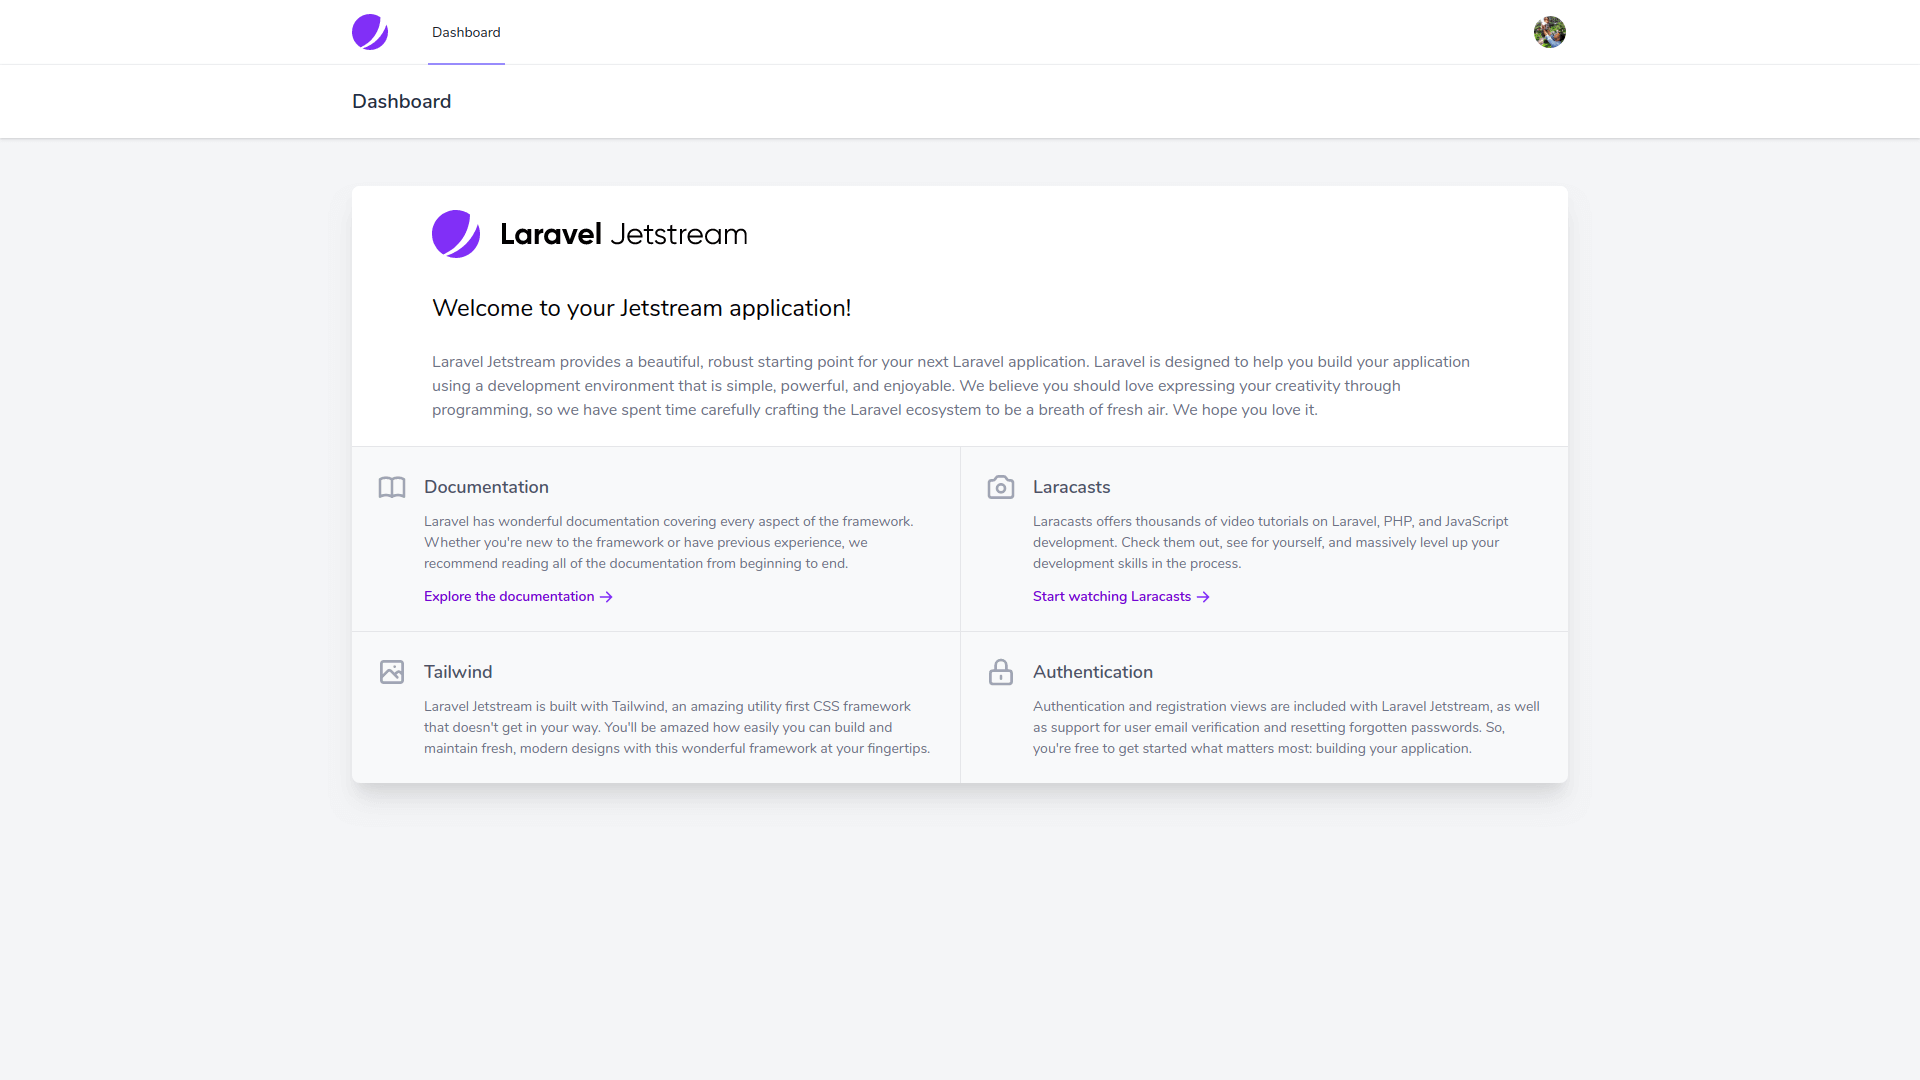
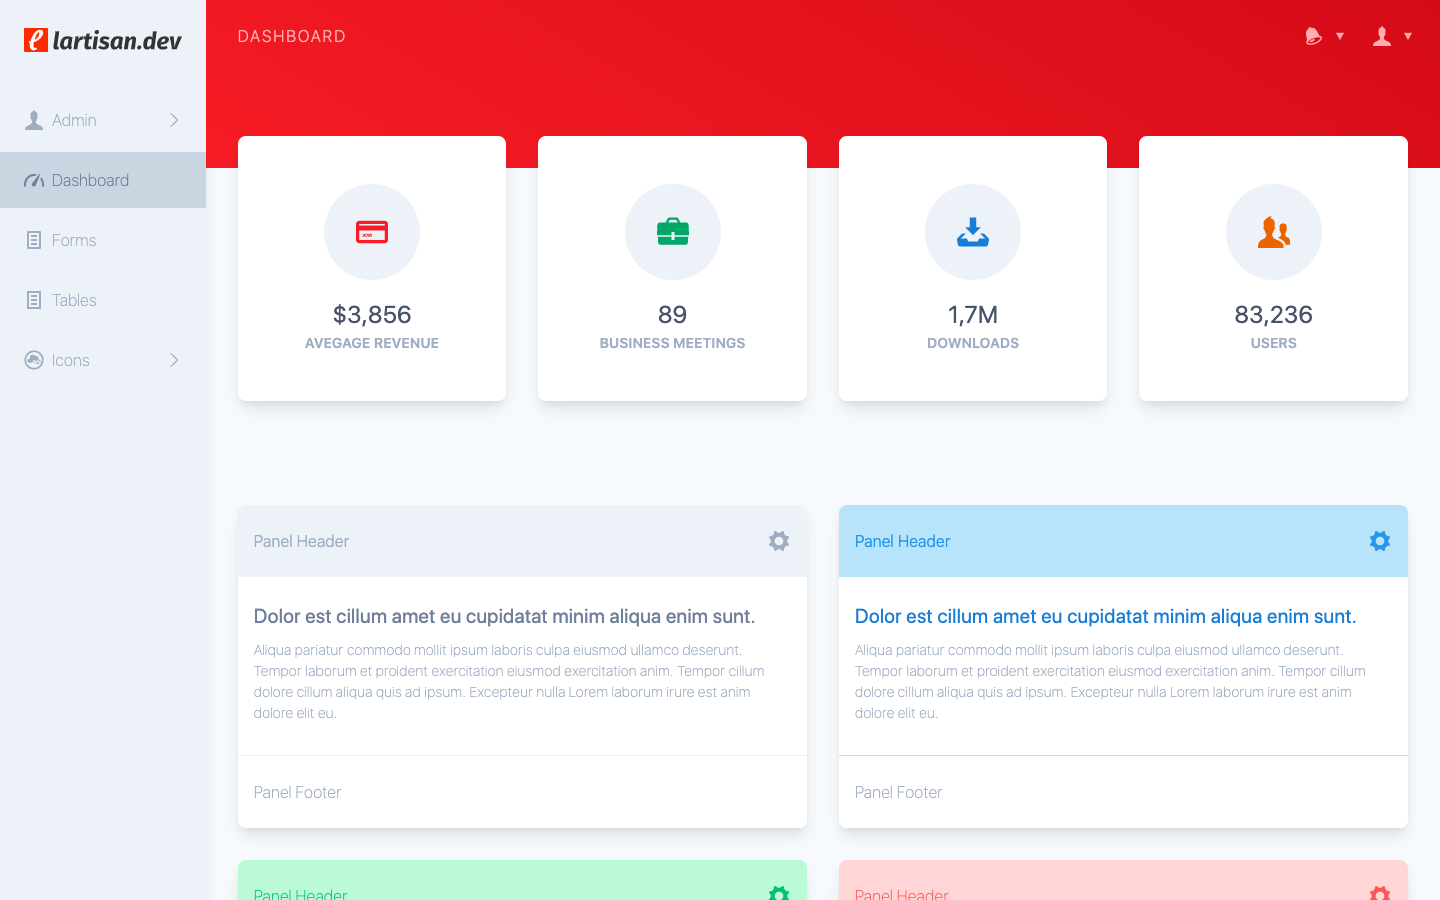
If all steps were successful, you’ll see a page like this:
![]()
The application is now bootstrapped.
You can now stop the Sail environment that is running on your terminal by typing .
Authentication Scaffolding
Laravel provides a basic starting point using Bootstrap, React, and/or Vue that will be helpful for many applications.
By default, Laravel uses NPM to install both of these frontend packages.
Generate basic scaffolding…
Generate login / registration scaffolding…
After installing the Composer package and generating the frontend scaffolding, the file will include the Bootstrap and Webpixels CSS packages to help you get started prototyping your application’s frontend without worrying about the design.
Before compiling CSS, open and replace devDependencies like in the example below. This way you’ll make sure to use the latest Bootstrap version.
Next, install your project’s frontend dependencies using the Node package manager (NPM):
Route with View file
We can call view file directly from web.php. No need to create any controller.
Method #1
//...

Route::get('our-products', function () {

    return view("products"); // view file in /resources/views/products.blade.php

});

//...
Method #2
This is also termed as view routes in laravel.
//...

// Route::view('route-name', 'view-file')

Route::view('our-products', 'products');

// view file in /resources/views/products.blade.php

//...
So to access the above route what we have defined above will be –
http://localhost:8000/our-products
This will return products.blade.php view file content.
# Testing Routes
Let’s verify that we can indeed create a post, show a post and show all posts with our provided routes, views, and controllers.
Feature Test
Create a new Feature test called in the directory and add the following assertions to verify that authenticated users can indeed create new posts:
12345678910111213141516171819202122232425262728293031323334353637
Additionally, we could verify that we require both a «title» and a «body» attribute when creating a new post:
12345678910111213141516
Next, let’s verify that unauthenticated users (or «guests») can not create new posts:
123456789101112
Finally, let’s verify the index route shows all posts, and the show route shows a specific post:
123456789101112131415161718192021222324252627282930313233343536
Ограничение ставки
Определение ограничителей скорости
Laravel включает мощные и настраиваемые службы ограничения скорости, которые вы можете использовать для ограничения объема трафика для данного маршрута или группы маршрутов. Для начала вы должны определить конфигурации ограничителя скорости, которые соответствуют потребностям вашего приложения. Обычно это можно сделать в вашего приложения .
Скорость Ограничители определяются с помощью фасадных — х метода. Метод принимает имя ограничителя скорости и закрытие, которое возвращает конфигурацию ограничения, которая должна применяться к маршрутам, которым назначен этот ограничитель скорости:
use Illuminate\Cache\RateLimiting\Limit;
use Illuminate\Support\Facades\RateLimiter;

RateLimiter::for('global', function (Request $request) {
    return Limit::perMinute(1000);
});
Если входящий запрос превышает указанный предел скорости, Laravel автоматически вернет ответ с кодом состояния HTTP 429. Если вы хотите определить свой собственный ответ, который должен возвращаться ограничением скорости, вы можете использовать метод :
RateLimiter::for('global', function (Request $request) {
    return Limit::perMinute(1000)->response(function () {
        return response('Custom response...', 429);
    });
});
Поскольку обратные вызовы ограничителя скорости получают экземпляр входящего HTTP-запроса,вы можете динамически устанавливать соответствующее ограничение скорости на основе входящего запроса или аутентифицированного пользователя:
RateLimiter::for('uploads', function (Request $request) {
    return $request->user()->vipCustomer()
                ? Limit::none()
                : Limit::perMinute(100);
});
Сегментирование тарифных лимитов
Иногда вы можете захотеть сегментировать ограничения скорости на какое-то произвольное значение. Например, вы можете разрешить пользователям получать доступ к заданному маршруту 100 раз в минуту на каждый IP-адрес. Для этого вы можете использовать метод при построении лимита скорости:
RateLimiter::for('uploads', function (Request $request) {
    return $request->user()->vipCustomer()
                ? Limit::none()
                : Limit::perMinute(100)->by($request->ip());
});
Множественные тарифные лимиты
При необходимости можно вернуть массив ограничений скорости для данной конфигурации ограничителя скорости.Каждое ограничение тарифа будет оцениваться для маршрута в том порядке,в котором они расположены в массиве:
RateLimiter::for('login', function (Request $request) {
    return ;
});
Прикрепление ограничителей скорости к маршрутам
Ограничители скорости могут быть присоединены к маршрутам или группам маршрутов с помощью промежуточного программного обеспечения . Промежуточное программное обеспечение дроссельной заслонки принимает имя ограничителя скорости, которое вы хотите назначить маршруту:
Route::middleware()->group(function () {
    Route::post('/audio', function () {

    });

    Route::post('/video', function () {

    });
});
Дросселирование с помощью Redis
Обычно промежуточное программное обеспечение сопоставляется с классом . Это отображение определено в HTTP-ядре вашего приложения. Однако, если вы используете Redis в качестве драйвера кеша вашего приложения, вы можете изменить это сопоставление, чтобы использовать класс . Этот класс более эффективен при управлении ограничением скорости с помощью Redis:

'throttle' => \Illuminate\Routing\Middleware\ThrottleRequestsWithRedis::class,
Назначение Bootstrap сетки. Контрольные точки
Сетка Bootstrap 4 – это основная часть фреймворка. Она предназначена для создания адаптивных шаблонов.
Сетка Bootstrap 4 основывается на CSS Flexbox и медиа-запросах (CSS media queries). Чтобы понять, как она работает более точно, рекомендуется сначала изучить эти CSS технологии.
Следующий шаг – это разобраться с тем, что такое адаптивный макет сайта.
Если кратко, адаптивный макет – это такой макет, вид которого может изменяться в зависимости от того, какую ширину viewport имеет браузер. Это означает, что при одних значениях ширины viewport адаптивный макет может выглядеть одним образом, а при иных – совершенно по-другому.
В Bootstrap изменения вида макета реализовано через медиа-запросы. Каждый медиа-запрос в Bootstrap строится на основании минимальной ширины viewport браузера. В Bootstrap ключевое значение ширины viewport в медиа-запросе называется breakpoint (контрольной точкой, или более просто классом устройства).
На схеме приведены основные контрольные точки, которые Bootstrap 4 имеет по умолчанию:
Это означает что до 576px макет сайта может отображаться одним образом, от 576px до 768px – другим образом и т.д. Таким образом, можно создать макет, который на каждом из этих участков может выглядеть по-разному.
Контрольные точки имеют обозначение. Первый breakpoint не имеет обозначения (), второй называется – , третий – , четвёртый – и пятый – . Эти обозначения необходимо запомнить, т.к. они используются в классах, которые мы будем добавлять к элементам. Эти обозначения в имени класса будут указывать на то с какой ширины viewport стили, определённые в нём, будут применяться к элементу.
| Ширина viewport браузера | Контрольная точка (название устройства) |
|---|---|
| >=0 | без обозначения (xs) |
| >=576px | sm |
| >=768px | md |
| >=992px | lg |
| >=1200px | xl |
При этом, контрольные точки задают только минимальную ширину. Т.е., например, если вы определили макет, используя в нём классы без обозначения контрольной точки () и с использованием , то он на будет иметь такую же структуру как на , а на и — как на .
Если вы знакомы с сеткой Bootstrap 3, то в ней количество контрольных точек равнялось четырём.
Пример адаптивной вёрстки на сетке Boostrap 4
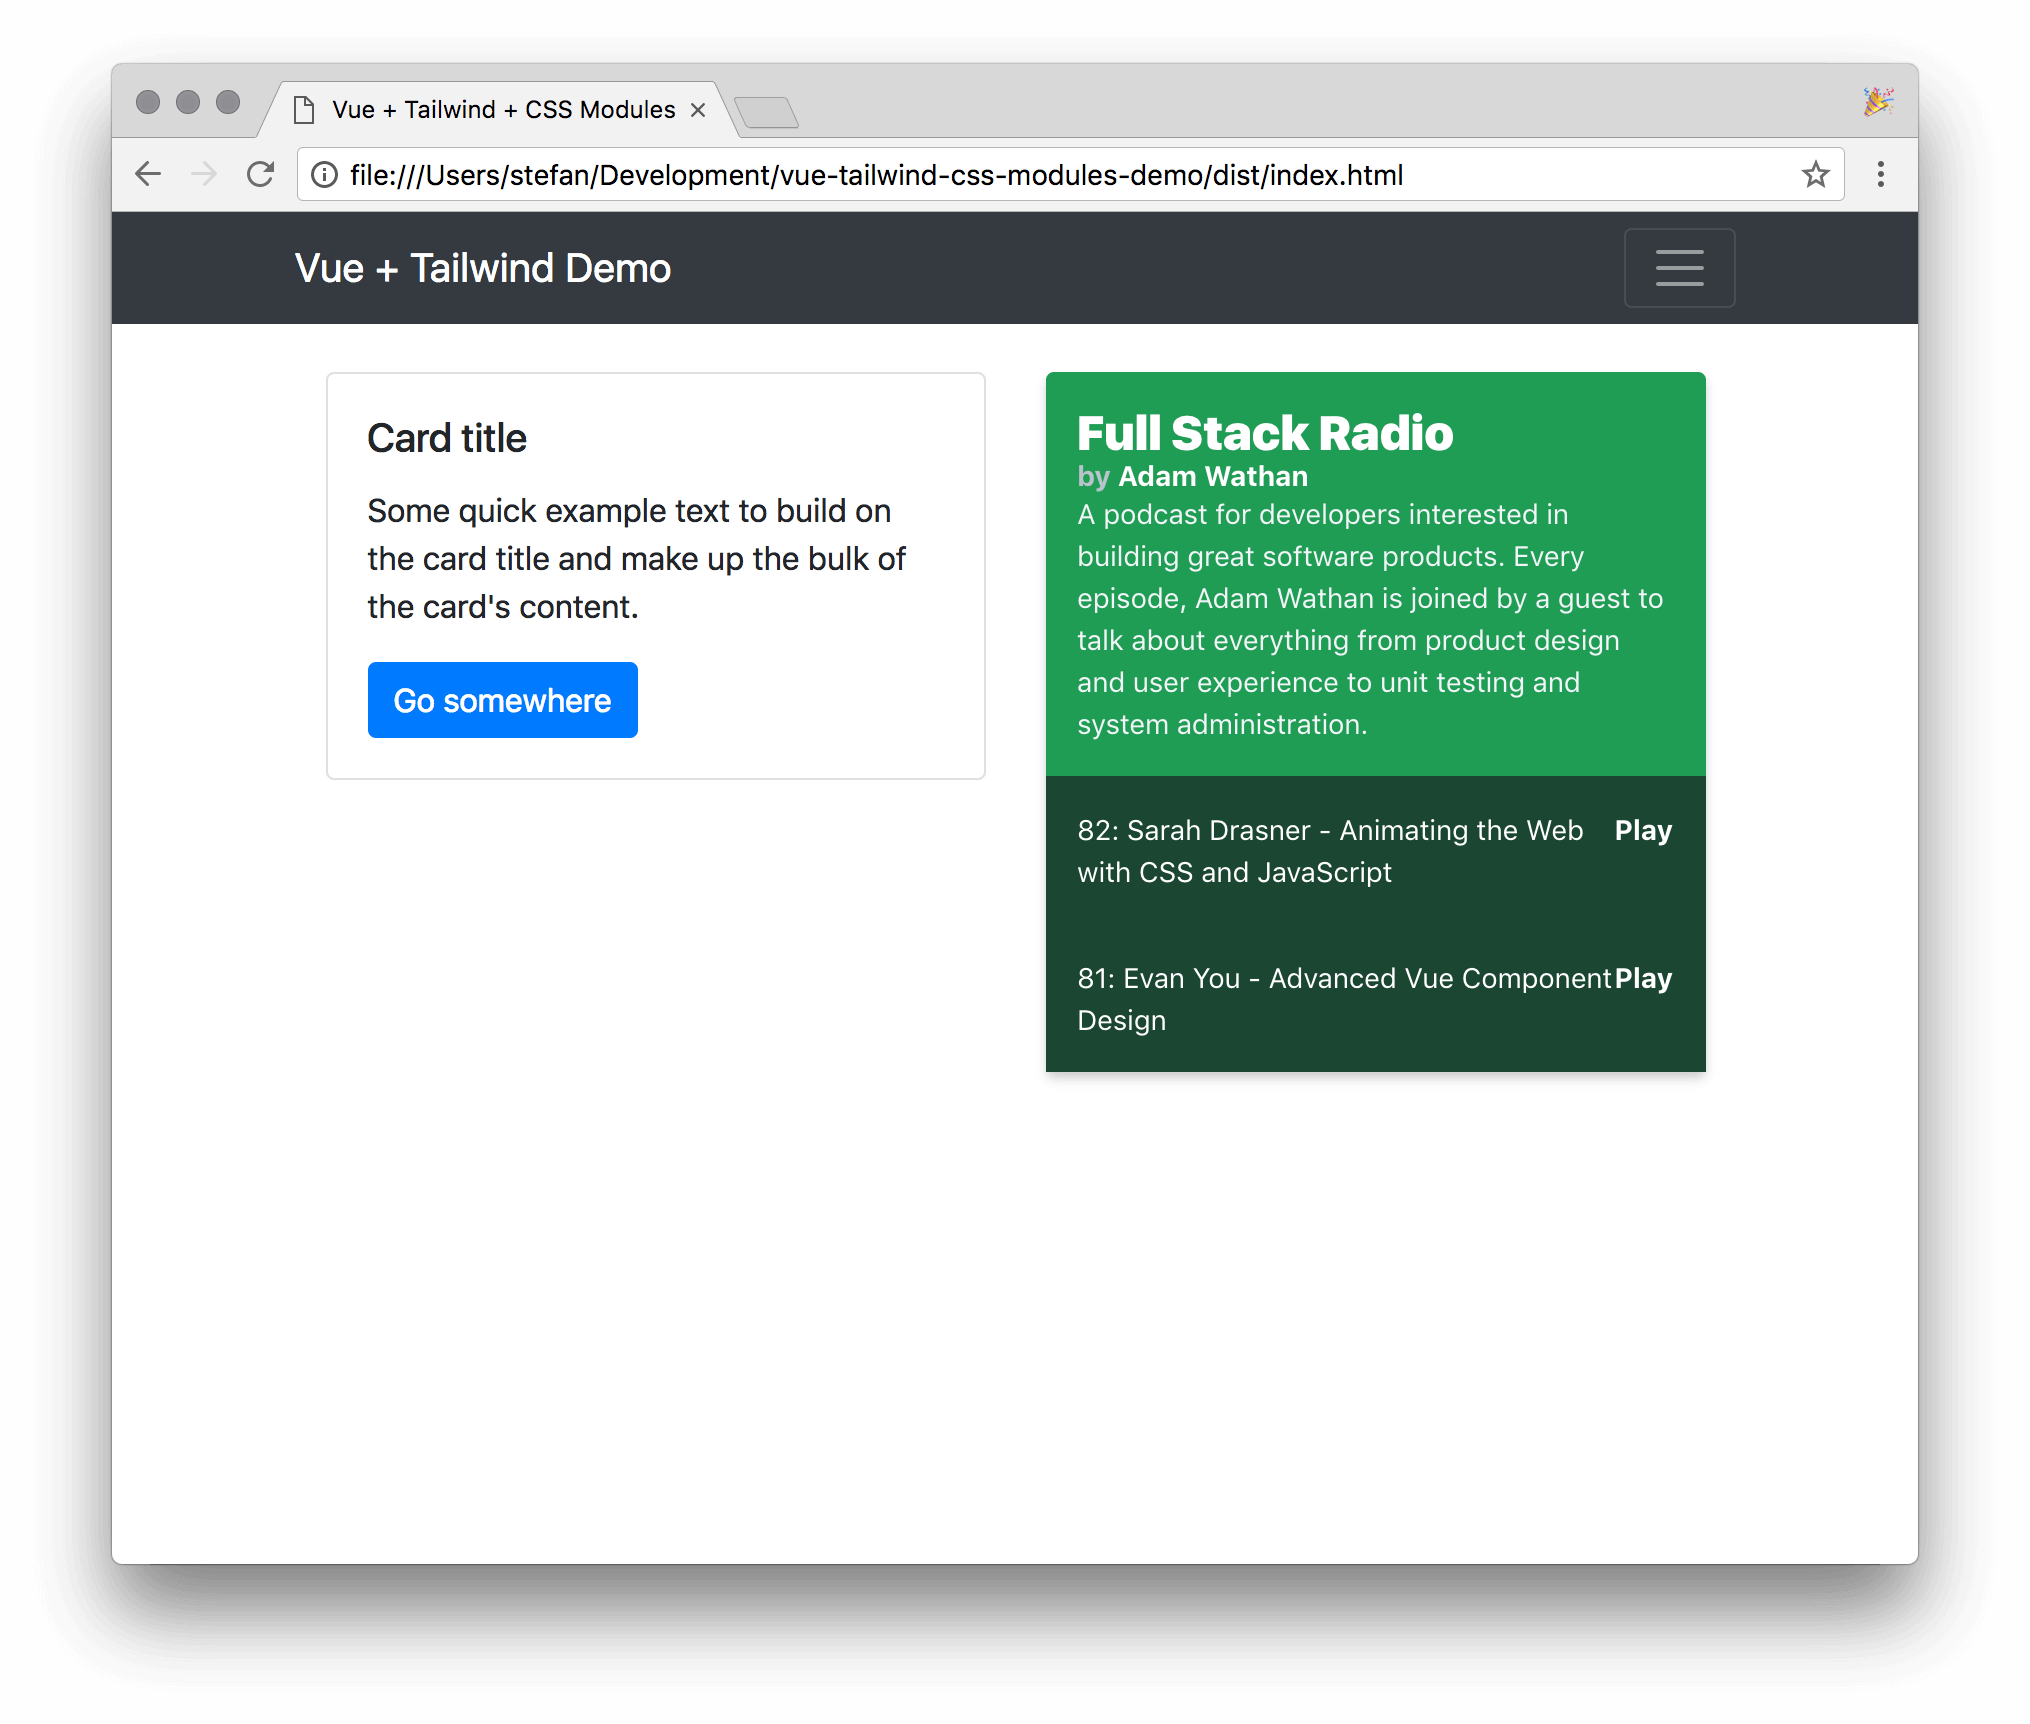
Создадим адаптивную разметку блока веб-страницы, приведённого на рисунке, с помощью сетки Bootstrap 4.
1. Создаём разметку блока для мобильных устройств ().
<div class="row">
    <div class="col-12"> (1) </div>
    <div class="col-12"> (2) </div>
    <div class="col-12"> (3) </div>
    <div class="col-12"> (4) </div>
    <div class="col-12"> (5) </div>
</div>
2. Настраиваем разметку для контрольной точки :
<div class="row">
    <div class="col-12 col-sm-6"> (1) </div>
    <div class="col-12 col-sm-6"> (2) </div>
    <div class="col-12 col-sm-6"> (3) </div>
    <div class="col-12 col-sm-6"> (4) </div>
    <div class="col-12 col-sm-12"> (5) </div>
</div>
3. Устанавливаем блокам количество колонок, которые они должны иметь на устройствах и :
<div class="row">
    <div class="col-12 col-sm-6 col-md-4"> (1) </div>
    <div class="col-12 col-sm-6 col-md-4"> (2) </div>
    <div class="col-12 col-sm-6 col-md-4"> (3) </div>
    <div class="col-12 col-sm-6 col-md-6"> (4) </div>
    <div class="col-12 col-sm-12 col-md-6"> (5) </div>
</div>
4. Создаём разметку для :
<div class="row">
    <div class="col-12 col-sm-6 col-md-4 col-xl"> (1) </div>
    <div class="col-12 col-sm-6 col-md-4 col-xl"> (2) </div>
    <div class="col-12 col-sm-6 col-md-4 col-xl"> (3) </div>
    <div class="col-12 col-sm-6 col-md-6 col-xl"> (4) </div>
    <div class="col-12 col-sm-12 col-md-6 col-xl"> (5) </div>
</div>
Убираем ненужные контрольные точки у адаптивных блоков:
<div class="row">
    <div class="col-12 col-sm-6 col-md-4 col-xl"> (1) </div>
    <div class="col-12 col-sm-6 col-md-4 col-xl"> (2) </div>
    <div class="col-12 col-sm-6 col-md-4 col-xl"> (3) </div>
    <div class="col-12 col-sm-6 col-xl"> (4) </div>
    <div class="col-sm-12 col-md-6 col-xl"> (5) </div>
</div>
Кроме этого, изначально в Bootstrap 4 адаптивный блок имеет ширину, равную 100%. Это позволяет при создании адаптивных блоков не указывать количество колонок, если их первоначальная ширина должна быть равна 12 колонок (100%).
Breeze
According to the documentation, «Breeze provides a minimal and simple starting point for building a Laravel application with authentication.», but personally I’d like to think of it as Laravel Ui without Vue and Bootstrap.
Recently I worked on a project that didn’t use Vue or require a complex authentication system, so Breeze seemed like a good idea, but again I was faced with the TailwindCSS problem, so I figured why not include it to the Jetstrap package.
Again Jetstrap does not affect the Model / Controller portion of Breeze, just the View.
Swapping Breeze resources
To swap tailwind resource for bootstrap in a breeze configured laravel, simply run:
php artisan jetstrap:swap breeze
Swapping Breeze inertia resources
Laravel Breeze now comes with stubs for inertia scaffolding and so dose Jetstrap. To use a Bootstrap scaffold for your laravel project running on Breeze alongside inertia, simply run the code below:
php artisan jetstrap:swap breeze-inertia
Next you have to clean up your file to make sure we don’t install unnecessary packages.
After that run:
…and you’re done!
Using the or in your service provider while swapping breeze assets will work as expected.
Writing CSS
After installing the Composer package and , Laravel’s file will include the package to help you get started prototyping your application’s frontend using Bootstrap. However, feel free to add or remove packages from the file as needed for your own application. You are not required to use the Bootstrap framework to build your Laravel application — it is provided as a good starting point for those who choose to use it.
Before compiling your CSS, install your project’s frontend dependencies using the Node package manager (NPM):
Once the dependencies have been installed using , you can compile your SASS files to plain CSS using . The command will process the instructions in your file. Typically, your compiled CSS will be placed in the directory:
The file included with Laravel’s frontend scaffolding will compile the SASS file. This file imports a file of SASS variables and loads Bootstrap, which provides a good starting point for most applications. Feel free to customize the file however you wish or even use an entirely different pre-processor by configuring Laravel Mix.
Step 2 — Using Laravel Sail
Laravel Sail offers several shortcuts to manage your development environment. Most commands and arguments are based on the default Docker Compose API.
Controlling the Environment
To bring the environment up in background mode, you can run:
To stop a Sail environment that was previously initiated in background mode, run:
This won’t delete attached networks or volumes.
To bring back an environment that was previously stopped with a command, you can use:
To stop an environment and also delete all associated resources such as volumes and networks, you can use the command. Please notice that this command will delete any data that was previously created and is only available inside containers, such as records stored in a database.
Checking Status and Logs
If your environment is down, bring it back up with:
When your environment is up and running, you can check the status of all active containers with:
The output from the command will tell you which containers related to that specific environment are currently active, which ports are being redirected, and more importantly, in which state each container is. In the previous example output, all services are up.
To check the containers logs when you’re running your environment in background mode, you can use:
This will show you the latest logs from all services.
You can also see logs per service by providing an additional argument to the command call:
Running Artisan and Composer
While working on your Laravel application, you’ll often be required to run commands to build, test, and manage your application. You’ll also need to run commands to manage your PHP dependencies. In addition to the default Docker Compose API, Sail offers helpful shortcuts to execute these commands in your application container ( in the example output). With a regular Docker Compose setup, running Artisan would look like this:


With Docker Compose Only
With Sail, the equivalent call is shortened to:
Running Artisan With Sail
You can run Composer in a similar way:
Running Composer With Sail
For more information about all features and commands available, please visit the official Laravel Sail Documentation.
You’re now familiar with how to manage your Sail development environment and how to run commands on the application container. In the next step, you’ll set up Tailwind CSS to design and style your landing page.
Update Fortify Provider
Next we will need to update boot method in app/Providers/FortifyServiceProvider. This is to tell fortify how to authenticate the user and where the views we created early are located.
public function boot(){ Fortify::loginView(function () { return view('auth.login'); }); Fortify::authenticateUsing(function (Request $request) { $user = User::where('email', $request->email)->first(); if ($user && Hash::check($request->password, $user->password)) { return $user; } }); Fortify::registerView(function () { return view('auth.register'); }); Fortify::requestPasswordResetLinkView(function () { return view('auth.forgot-password'); }); Fortify::resetPasswordView(function ($request) { return view('auth.reset-password', ); }); Fortify::verifyEmailView(function () { return view('auth.verify-email'); }); // ...}
Enter fullscreen mode Exit fullscreen mode
Next register FortifyServiceProvider by adding it to the providers array in config\app.php .
<?phpnamespace App\Models;use Illuminate\Contracts\Auth\MustVerifyEmail;use Illuminate\Database\Eloquent\Factories\HasFactory;use Illuminate\Foundation\Auth\User as Authenticatable;use Illuminate\Notifications\Notifiable;class User extends Authenticatable implements MustVerifyEmail{ use HasFactory, Notifiable; // ...}
Enter fullscreen mode Exit fullscreen mode
MAIL_MAILER=smtpMAIL_HOST=smtp.mailtrap.ioMAIL_PORT=2525MAIL_USERNAME=MAIL_PASSWORD=MAIL_ENCRYPTION=tlsMAIL_FROM_ADDRESS=info@lara8auth.comMAIL_FROM_NAME="${APP_NAME}"
Enter fullscreen mode Exit fullscreen mode
Finally we will add the home route to the routes/web.php file
Route::middleware()->group(function () { Route::view('home', 'home')->name('home');});
Enter fullscreen mode Exit fullscreen mode
We have completed our setup. You should have a working authentication system using laravel fortify and bootstrap.
Смещение адаптивных блоков
В Bootstrap 4 смещение адаптивных блоков можно выполнить с помощью:
- классов offset (на определённое количество колонок);
- служебных (утилитных) margin классов.
Классы offset
Классы offset предназначены для смещения адаптивных блоков вправо на определённое количество колонок.
Данные классы имеют следующий синтаксис:
оffset-{1} или offset-{breakpoint}-{1}
– контрольная точка, начиная с которой к данному блоку будет применено смещение (если она не указана, то смещение будет применено, начиная с самых крохотных устройств).
– величина смещения, указываемая с помощью количества колонок Bootstrap.
В качестве примера установим смещение адаптивным блокам так, как это показано на рисунке.
<div class="row">
  <div class="col-4"> (1) </div>
  <div class="col-4 offset-4"> (2) </div>
</div>
<div class="row">
  <div class="col-3 offset-3"> (1) </div>
  <div class="col-3 offset-3"> (2) </div>
</div>
<div class="row">
  <div class="col-6 offset-3"> (1) </div>
</div>
Смещение с помощью margin классов
В четвертой версии Bootstrap устанавливать смещение адаптивным блокам также можно с помощью margin отступов (margin-left: auto и (или) margin-right: auto). Эта вариант смещения появился благодаря тому, что сетка в новой версии Bootstrap (4) основывается на CSS Flexbox.
Данный вариант смещения (с помощью margin классов) используют, когда блоки необходимо сместить относительно друг от друга не которую переменную величину.
В Bootstrap 4 для более удобного и адаптивного задания блокам margin отступов ( и (или) ) можно использовать классы , , и .
<div class="row">
  <div class="col-4"> (1) </div>
  <div class="col-4 ml-auto"> (2) </div>
</div>
<div class="row">
  <div class="col-3"> (1) </div>
  <div class="col-3 ml-auto mr-auto"> (2) </div>
  <div class="col-3"> (3)</div>
</div>
<div class="row">
  <div class="col-4 ml-auto mr-auto"> (1) </div>
  <div class="col-4 ml-auto mr-auto"> (2) </div>
</div>
Установка tailwind
vue create testapp
Выберем все опции по умолчанию. Далее установим в проект tailwindcss командой
npm install tailwindcss --save
Создадим новую директорию css в src/assets/ и в ней создадим новый файл tailwind.css со следующим содержанием:
@tailwind base;

@tailwind components;

@tailwind utilities;
Далее добавим этот файл в src/main.js
import Vue from 'vue'
import App from './App.vue'
import './assets/css/tailwind.css'

Vue.config.productionTip = false

new Vue({
  render: h => h(App),
}).$mount('#app')
Далее нужно создать Tailwind конфиг файл. Он нужен для настройки Tailwind, и его можно сгенерировать, используя утилиту Tailwind CLI, устанавливаемую при установке пакета tailwind через npm. Для этого в терминале нужно набрать команду:
npx tailwind init
После этого в корне проекта должен создаться файл tailwind.config.js со следующим содержимым:
module.exports = {
  theme: {
    extend: {}
  },
  variants: {},
  plugins: []
}
В этом файле можно настроить элементы используемой темы, переменные и плагины. Подробнее о использование этого файла можно почитать в официальной документации (https://tailwindcss.com/docs/configuration).
На github есть очень большой список плагинов и других полезных ресурсов для Tailwind https://github.com/aniftyco/awesome-tailwindcss
Далее добавим Tailwind в качестве плагина PostCSS в цепочку сборки. Для этого в корне проекта создадим новый файл src/postcss.config.js
module.exports = {
  plugins:
}
Еще один очень важный момент на который нужно обратить внимание. На официальном сайте Tailwind есть сводная таблица размером различных css фреймворков (https://tailwindcss.com/docs/controlling-file-size)
| Framework | Original Size | Minified | Gzip | Brotli |
|---|---|---|---|---|
| Tailwind | 783.5kb | 603.3kb | 78.0kb | 22.6kb |
| Bootstrap | 187.8kb | 152.1kb | 22.7kb | 16.7kb |
| Bulma | 224.2kb | 189.9kb | 24.9kb | 19.1kb |
| Foundation | 154.1kb | 119.2kb | 15.9kb | 12.9kb |
| Tachyons | 111.7kb | 71.8kb | 13.4kb | 7.5kb |
| Semantic UI | 809.4kb | 613.8kb | 100.6kb | 77.8kb |
| Materialize | 175.0kb | 138.5kb | 21.1kb | 17.1kb |
Из нее видно, что Tailwind определенно выглядит тяжелым (хотя, если вы используете Brotli вместо gzip, это все еще очень разумно). Это обусловлено тем что по умолчанию в него входят очень большое количество классов (цветов, размеров, отступов для каждого размера и т.п.). Все это изобилие классов вряд ли будут используются в вашем текущем проекте. Поэтому есть ряд стратегий, которые вы можете использовать, чтобы значительно уменьшить размер файла Tailwind по умолчанию. Один из самый простых способов которые предлагает официальная документация это использовать Purgecss (https://www.purgecss.com/) (инструмент для удаления неиспользуемого CSS). Purgecss можно подключить как плагин PostCSS во время сборки. Для этого вначале установим Purgecss командой:
npm install @fullhuman/postcss-purgecss --save-dev
И далее внесем следующие изменения в postcss.config.js:
// postcss.config.js
const purgecss = require('@fullhuman/postcss-purgecss')({

  // Specify the paths to all of the template files in your project
  content: [
    './src/**/*.html',
    './src/**/*.vue',
  ],

  // Include any special characters you're using in this regular expression
  defaultExtractor: content => content.match(/[\w-/:]+(?<!:)/g) || []
})

module.exports = {
  plugins:
      : []
  ]
}
Обратите внимание, что в этом примере мы включаем только Purgecss в продакшине. Официальная документация рекомендуем настраивать Purgecss таким образом, чтобы во время разработки иметь каждый класс доступным, что бы вам не нужно было бы ждать перестройки каждый раз, когда вы меняете какой-то HTML
Хочу дать еще один совет. Если вы используется в свой работе VSCode то для Tailwind, есть очень полезный плагин https://github.com/bradlc/vscode-tailwindcss Который позволяет получать подсказки по всем классам во время работы:

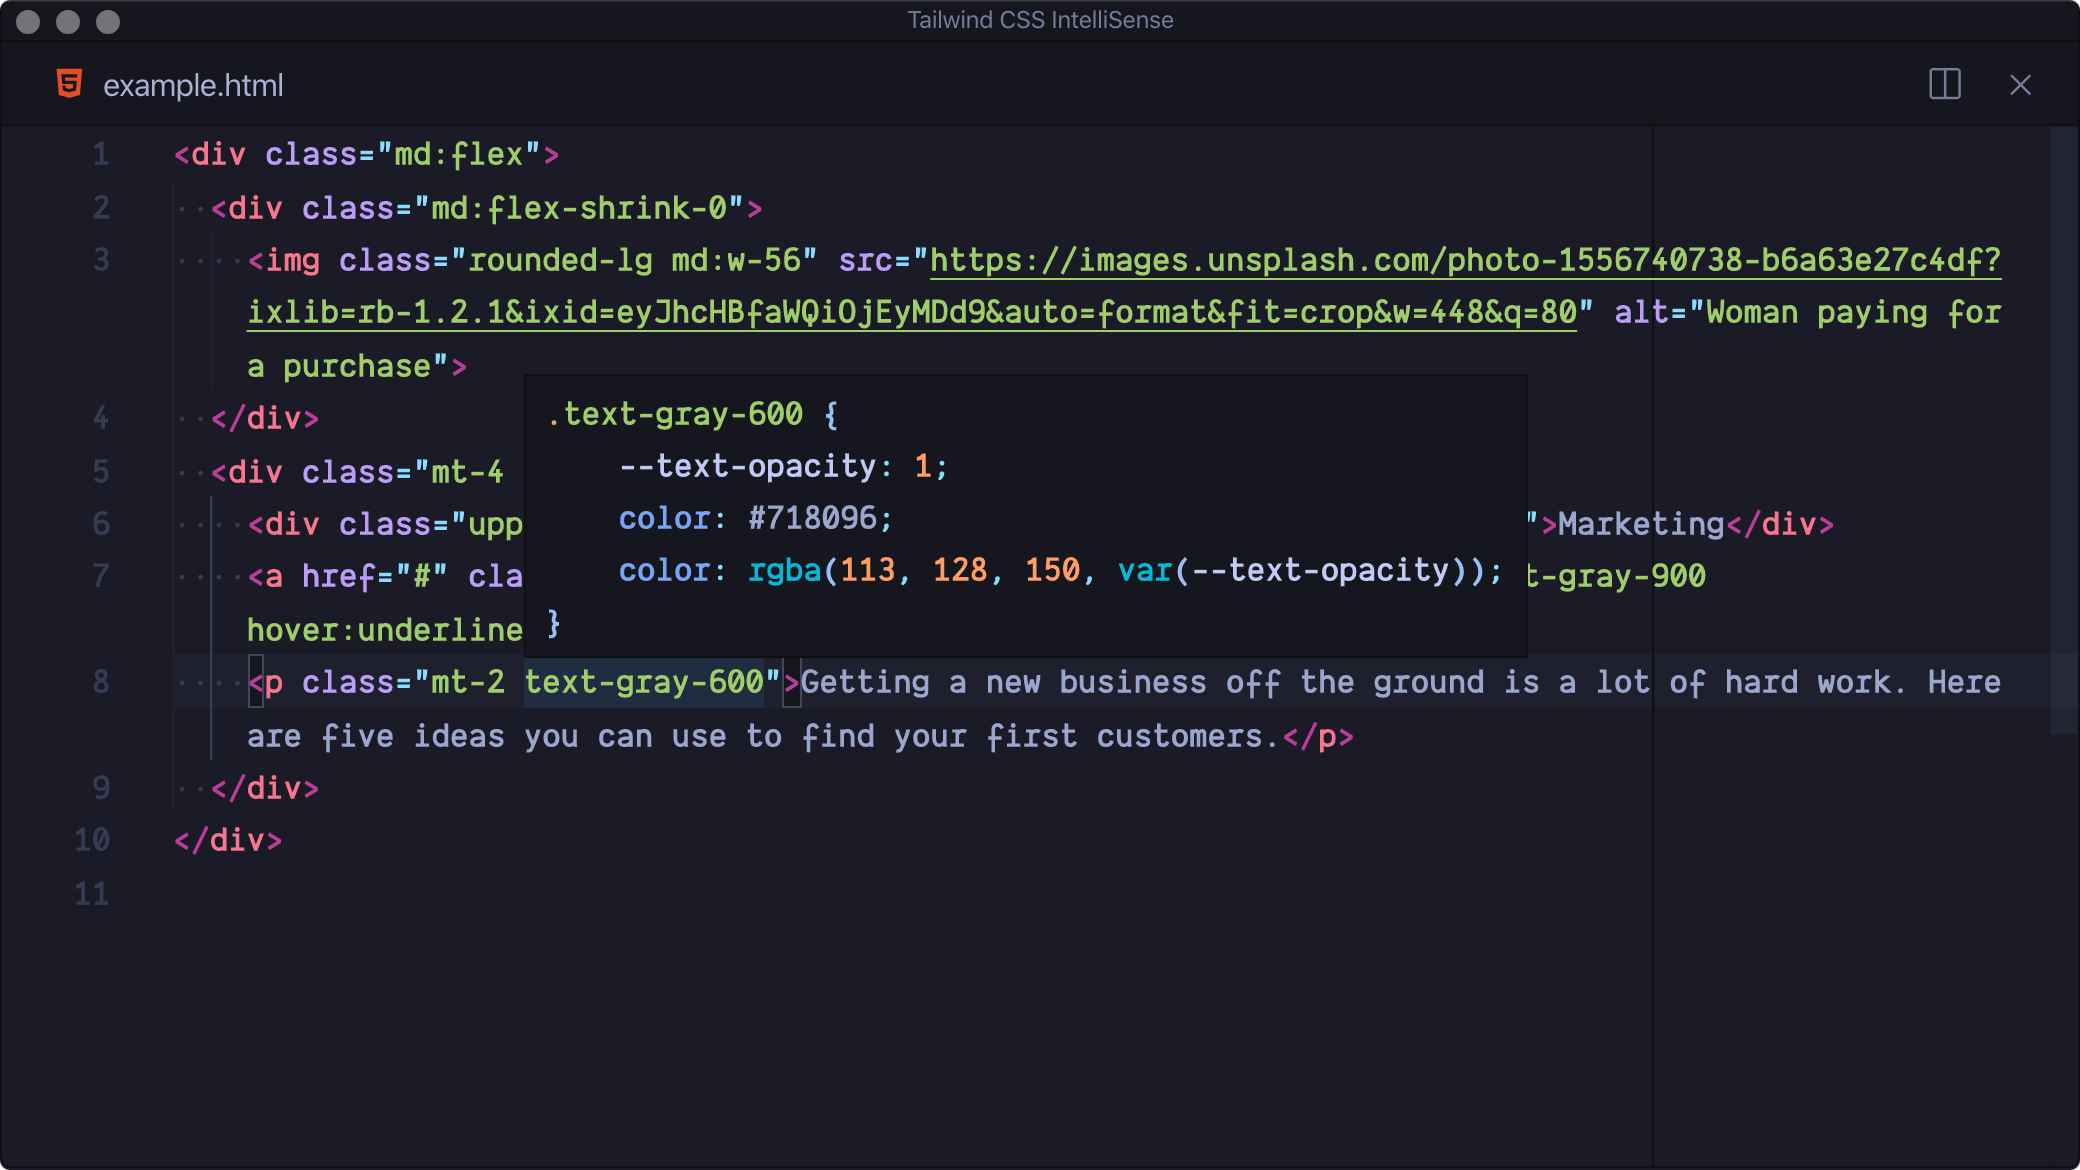
Так же позволяет видеть CSS свойства при наведении на имена классов:
На этом все. Настройка закончена, можно приступать к созданию проекта с Tailwind
# View Components
Since Laravel 8, it is possible to generate Blade components using which generates a base class and a Blade file, which receives all public properties as defined in the class. These components can then be reused and included in any view using the component syntax: and closing (or the self-closing form). To learn more about Blade components, make sure to check out the Laravel documentation.
In addition to generating Blade components using the artisan command, it is also possible to create a component without class. These are called anonymous components and are placed in the directory by convention.
This section will cover how to provide these type of Blade components in your package.
Class Based Components
If you want to offer class based View Components in your package, first create a new directory in the folder. Add a new class, for example .
123456789101112131415161718192021
Next, create a new directory in the folder. Add a new Blade component :
12345
Next, register the component in the Service Provider by the class and provide a prefix for the components. In our example, using ‘blogpackage’, the alert component will become available as .
123456789101112
Anonymous View Components
If your package provides anonymous components, it suffices to add the Blade component to directory, given that you have specified the directory in your Service Provider as «resources/views». If you don’t already, add the method to your Service Provider:
123456
Components (in the folder) can now be referenced prefixed by the defined namespace above («blogpackage»):
1
Customizable View Components
In order to let the end user of our package modify the provided Blade component(s), we first need to register the publishables into our Service Provider:
12345678
Now, it is possible to publish both files (class and Blade component) using:
1
Be aware that the end user needs to update the namespaces of the published component class and update the method to reference the Blade components of the Laravel application directly, instead of referencing the package namespace. Additionally, the Blade component no longer has to be namespaced since it was published to the Laravel application itself.


